
2018 - 2026 Goldwing Maintenance
These videos will show you step-by-step how to perform regular maintenance on your 6th generation Honda Goldwing and/or Goldwing Tour.
You can literally save thousands in dealer labor charges by performing your own maintenance. And, you get the satisfaction of knowing the job got done right! That is why these videos are used by thousands of Goldwing owners in more than 35 countries.
-
Introduction to Cruiseman's Videos
Welcome to Cruiseman's Garage Maintenance Videos for the 2018+ (6th Generation) Honda Goldwing.
MERCHANDISE DISCOUNT:
https://shop.cruisemansgarage.com/promo/OTT25My Amazon Tools Page: https://amzn.to/3TVpxwT
-
Introduction to fasteners
Learn about the various screws, bolts, clips and other fasteners that you will encounter when working on your Honda Goldwing.
-
Recommended tools (4K)
Having the right tools can make working on your Goldwing much easier. This video will show you some of my favorite tools.
MY AMAZON TOOLS PAGE: https://amzn.to/3TVpxwT
INDIVIDUAL TOOLS RECOMMENDED:
GearWrench Metric Wrench Set: https://amzn.to/3vLW6n2
GearWrench Torque Wrench: https://amzn.to/3... -
Maintaining Service Records
You can use a free spreadsheet that I created to maintain detailed and accurate records of all service performed on your Goldwing. This can add tremendous value to your motorcycle when it comes time to sell it or trade it in.
Download the spreadhsheet here: https://cruisemansgarage.com/downloads...
-
Side Covers
You must remove your side covers to access your battery (left side) or to remove your seat. This video shows you how to remove the side covers without damaging your seat or scratching other painted parts of the motorcycle.
Honda Service Manual [2-7]
This version was uploaded on: Feb 12, 2024 -
Seat Remove
This video shows you the proper, and safe way to remove your seat. There are also a couple of little tips thrown in to help you prevent damage to your painted surfaces.
[2-8] -
Seat Install
Re-installing a seat may sound like a simple task, but there are some little tips that can make the job much easier and save you time and effort the next time you need to remove your seat.
[2-8] -
Front Fender
Removing the front fender is necessary before removing the front wheel, or to install some accessories. This video shows you how to remove and re-install the front fender.
[2-14] -
Rear Fender
Removing the rear fender may be necessary to install accessories, or in case you need to remove your rear wheel. This video will show you how to remove and re-install the rear fender.
-
Engine oil and filters change DCT models
-
Change Engine Oil and Filter (Manual Transmission)
Changing the oil and filter on a 6-speed manual transmission model is different than on the DCT model. If you own a DCT, follow the directions on the link below: https://cruisemansgarage.vhx.tv/packages/2018-2024-goldwing-maintenance/videos/10-engine-oil-and-filters-change-dct
[3-11] -
Final drive oil change
The final drive gear oil should be changed every 10,000 miles or 16,000 km. This video will show you how to properly change the fluid. You should always wear protective gloves and eye wear when working with chemicals.
[3-17] -
Inner Cowl
How to remove and re-install the Inner Cowl. You have to remove the Inner Cowl to access one of the plastic body clips (rivets) that holds the Middle Cowl in place.
[2-20] -
Fog light covers
This video will show you the correct way to remove and re-install your flog light covers.
-
Lower Cowl
The Lower Cowl(s) must be removed if you wish to install highway pegs to your engine tipover bar(s), access your spark plugs, or access the Crankcase breather. There are some shortcuts and special tips that this video will show you to make the job easier.
-
Rear View Mirrors
This video will show you how to remove and/or re-install your rear-view mirrors.
[2-19] -
Middle Cowl Remove
Removing the middle cowl(s) may be necessary to install accessories, or perform other maintenance tasks (coolant change, air filter, etc.). There are some little known shortcuts that can make this job much easier and this video will show them to you.
[2-20] -
Middle Cowl Install
There are some specific steps you should follow to re-install your middle cowl and this video will show you the steps necessary to complete the task.
[2-20] -
Left Deflector Panel A
This video shows how to remove the deflector panel on the left side of the Goldwing.
[2-25] -
Top Shelter Remove
Removing the top shelter may be necessary when adding accessories, or to gain access to other internal parts of your Goldwing, like the center pocket or air filter assembly.
[2-21] -
Top Shelter Install
Re-installing your top shelter requires a little patience and a couple of special tools. This video will show you how to do it correctly.
[2-21] -
Center Pocket Removal
Removing the Center Pocket (aka Glove Box) is necessary to gain access to the air filter canister when it comes time to change the air filter element.
[2-26] -
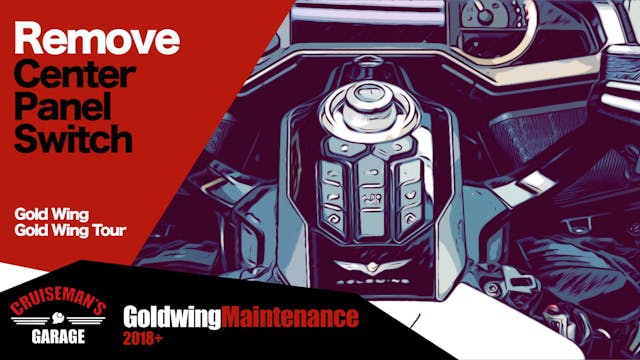
Center Panel Switch Remove
This video shows all the steps necessary to completely remove the Center Panel Switch per the Honda Service Manual. NOTE: There is a shortcut method to "removing" this Center Panel Switch that does not require removal of the top shelter. Here is a link to the shortcut: https://cruisemansgarage.vh...
-
Shortcut Remove Center Panel Switch
There is a little known shortcut to "removing" the Center Panel Switch that does not require removal of the Top Shelter. This is not covered in the Honda Service Manual. This video shows you how to carefully and safely perform this operation.
-
Center Panel Switch Install
This video shows the installation of the Center Panel Switch according to the Honda Service Manual.
[22-16] -
Air Filter Replacement (non-airbag)
Replacing the air filter element is one of the most time-consuming jobs on a Honda Goldwing. Dealers charge $350-$450 in labor just to change an air filter! You CAN do this yourself and save that money. This video shows you every step necessary to replacing the air filter.
[3-4] -
Air Filter Replace Airbag
Updated 4/4/2024 - Information for those of you with airbag model Goldwings pertaining to replacing the air filter.
-
Air Filter Re-Assembly
Once you have replaced your air filter element, this video will show you all of the steps required to re-assemble the Goldwing.
[3-4] -
Crankcase Breather
Updated on 12/7/2024 - An often overlooked maintenance item is the Crankcase Breather. This should be inspected and or drained every 4,000 to 8,000 miles.
[3-7] -
Front Lower Inner Cowl
This video shows you how to remove and re-install the Front Lower Inner Cowl.
-
Front Lower Cowl
This video shows you how to remove/install the Front Lower Cowl (the silver chin at the front of the engine). Updated on 07/06/2023
[2-34] -
Windshield Remove/Install
Your Goldwing windshield can easily be removed and replaced with another windshield and this video shows you how. 9/9/2025
[2-14] -
Front Brake Pads Inspect Replace
[19-11] Your front brake pads should be inspected every 5,000 miles. Typically, they should last 10,000 miles unless you ride aggressively. This video shows you how to inspect them, and replace them with new pads if necessary.
-
Rear Brake Pad Inspection and Replacement
This video shows you how to inspect your rear brake pads, and how to replace them if necessary. You should inspect your brake pads every 5,000 miles.
[19-12] -
Installing Speed Bleeders
-
Brake Fluid Flush and Bleed
[19-5] Flushing and bleeding your brake fluid can dramatically improve the responsiveness of your braking system. However, the brakes must be bled in a specific order.
You may:
- Watch these videos as often as you like.
- Download the videos for viewing offlineYou May Not:
- Give your Vimeo.co... -
Program The Honda Smart Key
[23-18] Your Goldwing can have up to 4 Smart Keys programmed to the ECM. You should have at least 1 spare Smart Key programmed as a replacement in case your Smart Key is lost, stolen or damaged.
You may:
- Watch these videos as often as you like.
- Download the videos for viewing offlineYou Ma...
-
Parking Brake Adjustment
This video will show you how to properly adjust your parking brake.
[3-21/23] -
Center Panel Switch Disassemble
You may need to disassemble the Center Panel Switch to replace a damaged part, or to install HomeLink or Fog Light switch buttons.
[22-16] -
DCT Clutch Initialize Procedure (TCM)
You can re-initialize your DCT clutch and this video shows you the proper procedure for doing so. This may be necessary if your DCT is shifting erratically.
[11-64]Download a PDF of this procedure here: https://bit.ly/DCTInitVimeo
-
Replace smart key battery
Your Honda Smart Key battery should be replaced every 12 months (just as a precaution). The Smart Key uses a CR2032 battery (see link below) and is very easy to replace.
CR2032 BATTERY ON AMAZON: https://amzn.to/3HhQnYL
-
Trunk Latch Adjustment
-
Fog Light Adjustment
-
Passenger Grab Rail Remove/Re-Install
-
Passenger Backrest Remove/Re-Install (2018-2020)
-
Passenger Backrest Remove/Re-Install (2021+)
The Passenger Backrest on the 2021+ model Goldwing Tour is different than earlier models. This video shows you how to remove and re-install it.
-
Trunk Panels Remove (2018-2020)
This video shows you how to remove the side panels from your trunk.
-
Trunk Panels Install (2018-2020)
-
Trunk Side Panels Remove/Install (2021+)
-
Trunk Lid Remove
-
Trunk Lid Install (2018-2020)
-
Trunk Lid Remove/Re-Install (2021+)
-
Rear Wheel Remove/Re-Install
This video shows you how to remove and re-install your rear wheel using only a scissor jack and a couple of inexpensive jack stands.
-
Honda Trunk Rack Install (2018-2020)
-
Spark Plug Replacement
-
Coolant Change
This video shows how to flush and replace the coolant in your Honda Goldwing
-
Front Wheel Remove and Re-Install
This video will show the steps and tools required to remove and re-install your front wheel. This video was updated on May 26, 2026
-
Side Pocket Remove/Re-Install
-
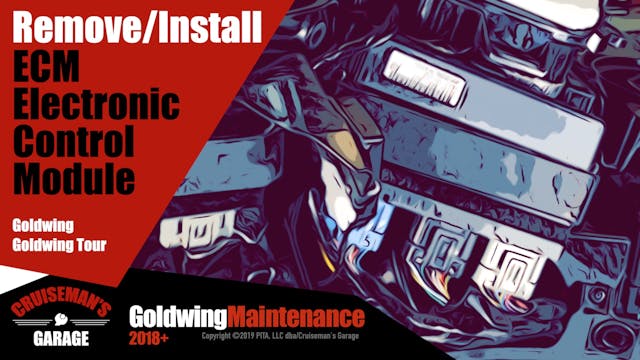
ECM Remove/Re-Install
Should it ever become necessary to remove your ECM (Electronic Control Module), this video will show you how. This would be necessary if you ever had to replace a defective ECM, or in case you wanted to send your ECM to a tuner for re-programming. NOTE: Modifying the ECM would void your Honda Fac...
-
Front Center Cowl Remove/Re-Install
-
Headlight Assembly Remove/Re-Install
-
Windshield Garnish Remove/Install
-
Meter Visor Remove/Install
-
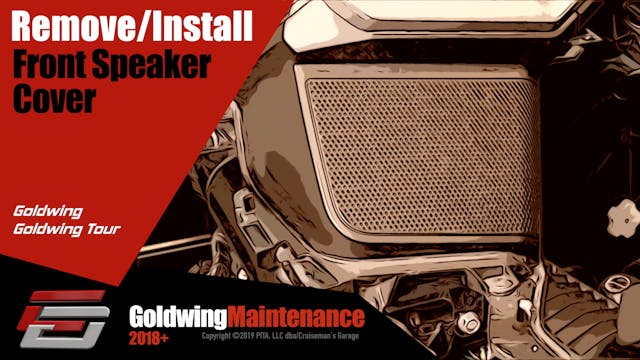
Front Speaker Cover Remove/Re-Install
How to remove and re-install the front speaker grill to access the front speaker(s).
-
Meter Lens Remove/Re-Install
The meter lens is the clear dash that covers your gauges. This video shows you how to remove and re-install the lens.
-
Rear View Mirror Disassemble/Re-Assemble
This video shows you how to disassemble the rear-view mirror assembly. You should first watch the video on how to remove the rear-view mirrors.
-
Saddlebag Lid Remove/Re-Install
You may need to remove your saddlebag lid to install lights or other accessories, or to replace a damaged lid.
-
How To Download Videos
This video will help you understand the process for downloading the maintenance videos to your laptop or other device.
-
Muffler Remove and Re-Install
Removing your mufflers may be necessary if you are installing a trailer hitch or other accessories where you need to access the frame. This video shows you how.
-
Brake Pedal Height Adjustment
-
AM FM XM Presets
Setting AM, FM or XM radio presets is not as intuitive as you might think. This video shows you how.
-
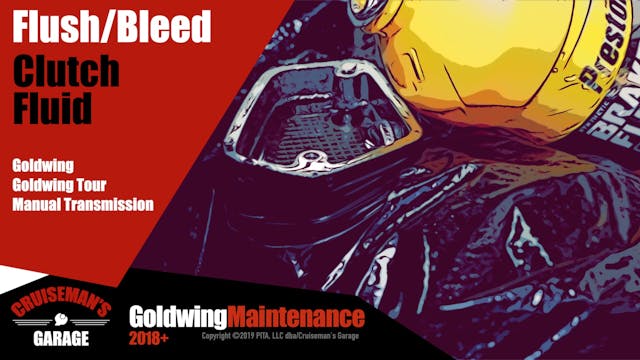
Clutch Fluid Flush & Bleed (Manual Transmission)
-
Outer Air Guide Remove/Re-Install (right side)
-
Parking Brake Pad Replacement
Your parking brake pads can wear out, especially if you accidentally ride off with the parking brake engaged. This video shows you how to replace those brake pads.
-
Emergency Start Procedures
-
Battery Replacement
How to replace the battery on your Honda Goldwing
-
TPMS Sensor Registration
If you replace your TPMS sensor(s), or change out a wheel that has a different TPMS sensor, you will need to register the TPMS sensor with your Goldwing computer system. This video shows you how using a special tool that is available on Amazon (see below).
TPMS Registration Tool: https://amzn.to...
-
Rear Speaker Covers (2021+)
-
Removing The Trunk (2018-2020)
-
Using a Scissor Jack
If you plan to remove your front and/or rear wheels, you will need to raise your Goldwing using a jack. Here are the steps that I follow when using a scissor jack.
Buy the scissor jack on Amazon: https://amzn.to/3tItwCw
Amazon Tools Page: https://amzn.to/3TVpxwT -
Center Pocket Install
The center pocket (or glove box) must be removed to access the air filter canister or should it be necessary to remove your gas tank. This video shows you how to properly re-install it.
[2-26] -
Traxxion Engine Guard Installation
This video shows you how to install the Traxxion Engine Guard onto a 2018+ (6th Generation) Honda Goldwing or Goldwing Tour. To purchase the Traxxion Engine Guard, go to https://www.Traxxion.com
-
Motorcycle Maintenance Extra Files
546 KB
-
Coolant Inspect and Fill
-
1,000 Mile Service (1,600 kilometer)
-
4,000 Mile Service (6,400 kilometer)
-
8,000 Mile Service (12,800 km)
-
 57.4 KB
DCT-Initialization.pdf
57.4 KB
-
Emergency-Start-Procedure.pdf
54 KB
-
Saddlebag Lid Disassemble
If your saddlebag lid becomes damaged and needs replacement or repair, you may need to separate the painted shell from black trim. Or, perhaps you are replacing the OEM reflectors with lights. This video will show you how to disassemble, and re-assemble the saddlebag lid.
-
Bullet Brake Install
The Bullet Brake can be used in conjunction with your DCT parking brake. You can save 15% on the purchase of Bullet Brake with code CRUISEMAN at checkout. https://bulletbrake.com
-
PathfinderLED Lighting Distribution Hub Install
The PathfinderLED Lighting Distribution Hub provides a plug-n-play solution for adding lighting accessories to your Honda Goldwing. It also is an isolator that can protect your CANBUS electrical system from damage.
-
Muffler Disassemble
This video shows how to remove the muffler from the decorative outer shell.